


Why do we need to merge two point cloud data?
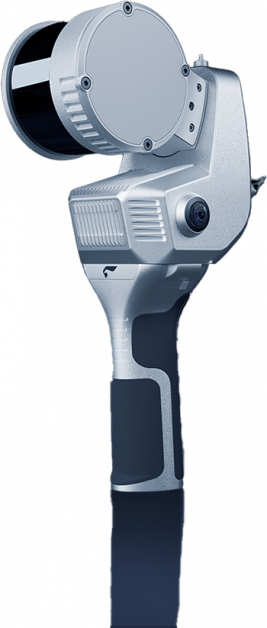
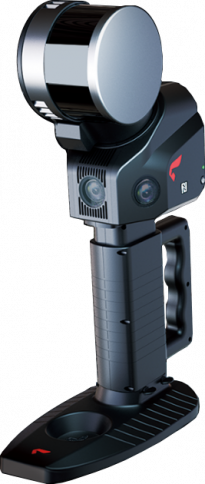
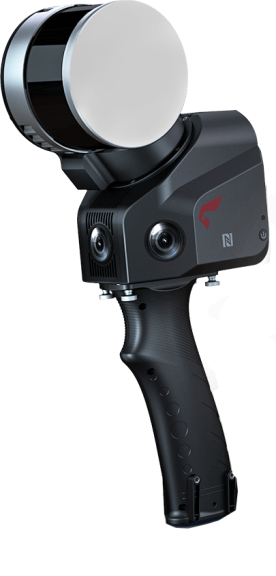
When a scanning project is too large to be completed in one go, we divide it into different sessions for scanning. For example, when using the SLAM100 or slam2000 scanner to scan a high-rise building, we might consider scanning floors 1 to 3 in the first session and floors 4 to 6 in the second session. Clearly, there is nothing wrong with this scanning approach. However, when it comes to merging the data later, its drawbacks become apparent. This is because merging point clouds requires identifying overlapping areas and selecting several points within these overlapping regions as references for merging. Therefore, the correct scanning approach is to first scan floors 1 to 3, and then scan floors 3 to 5, so that the third floor can serve as our overlapping region.
Point cloud merging typically involves two steps
- First step: Point cloud registration
- Second step: Point cloud merging
The premise for point cloud merging is that our point cloud data lacks absolute coordinates (RTK was not used during scanning). If the data already possesses coordinates, this step can be skipped, and the data can be directly imported into software for merging.
As mentioned above, the first job is to identify the overlapping regions of the two point cloud datasets. Then, within these regions, specific reference points for merging need to be designated. The subsequent step involves registering these regions to ensure they are aligned in the same coordinate system. This typically entails using registration algorithms to adjust one of the point clouds so that it aligns with the other. The accuracy of the reference points directly influences the quality of the point cloud merging.
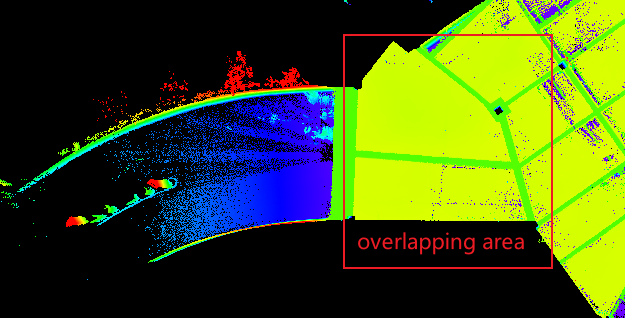
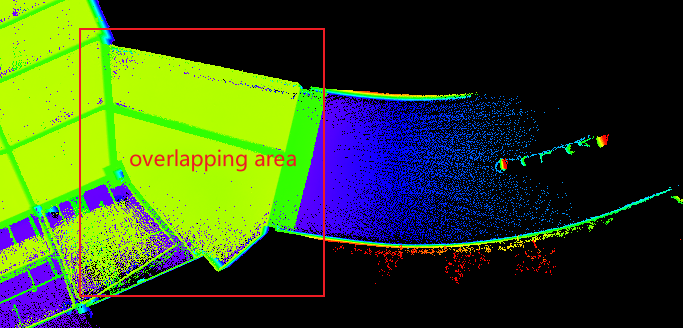
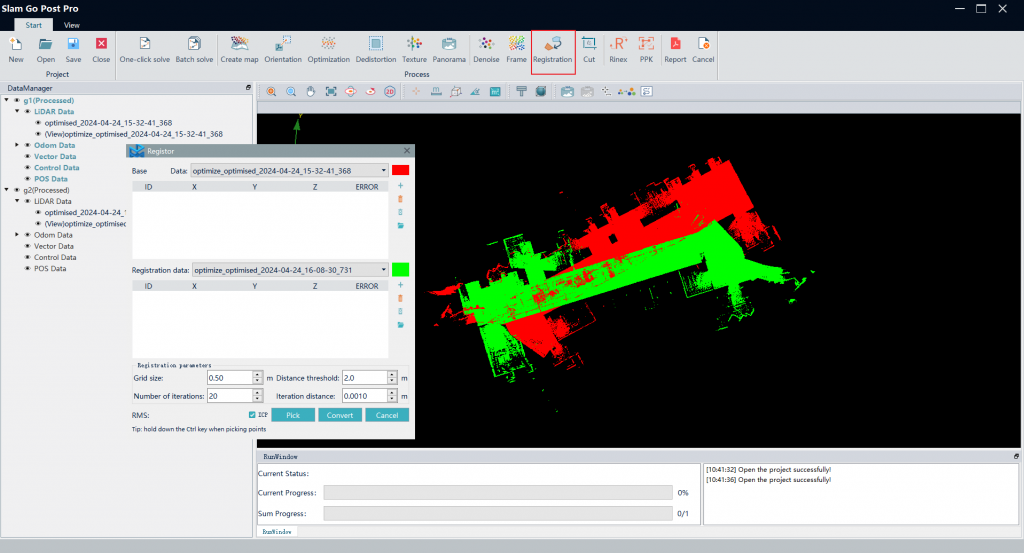
The image below shows two point cloud datasets of an underground parking garage, with their overlapping area being the garage exit.
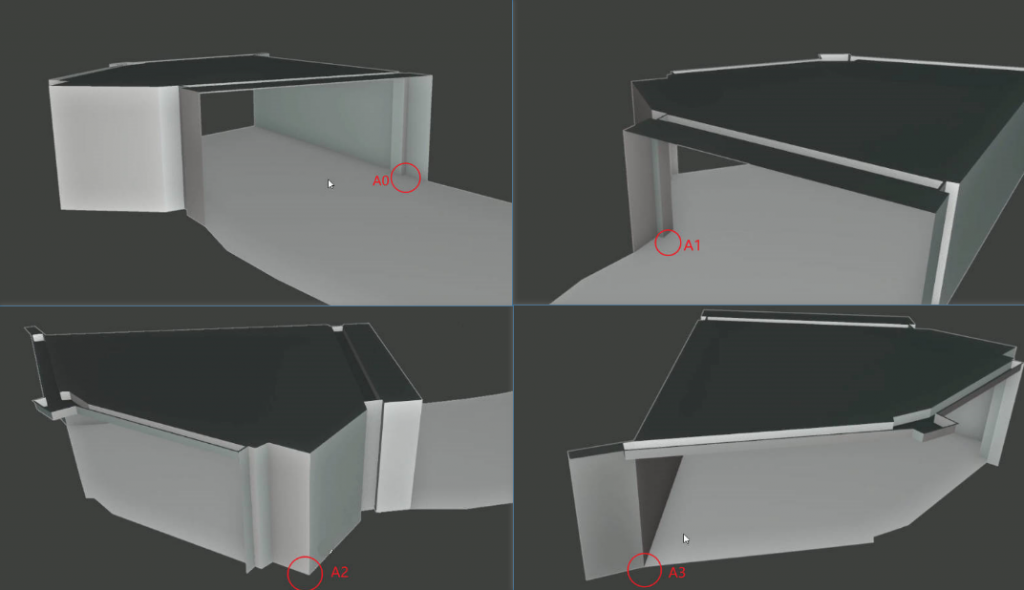
The image below displays all the merging reference points we have selected. They are respectively A0, A1, A2, and A3
How to select merge reference point using slam go post
First, we open both projects and add the point clouds to be merged to the viewer
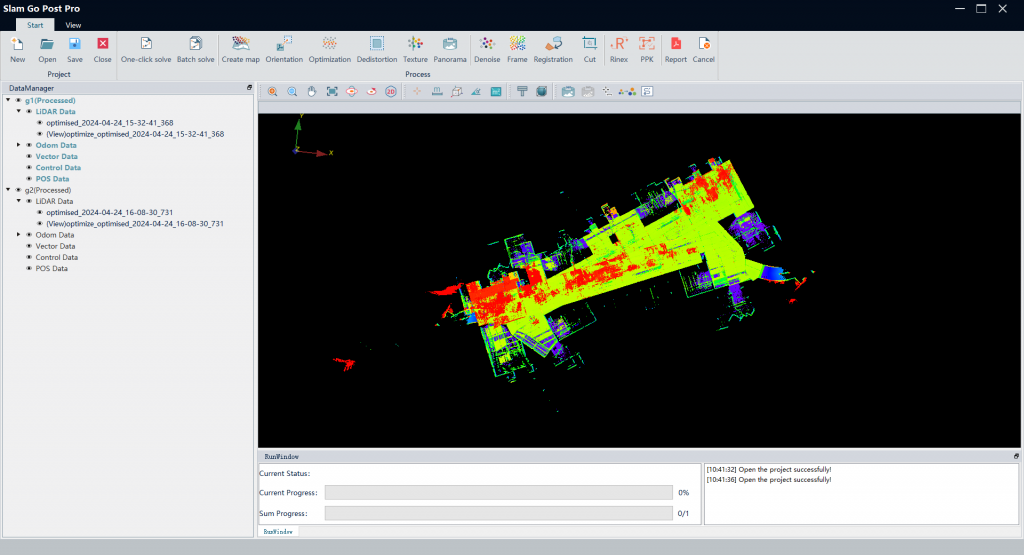
Then, click on the ‘registration’ button in the toolbar. This will pop up a window, and the two point clouds will turn red and green.
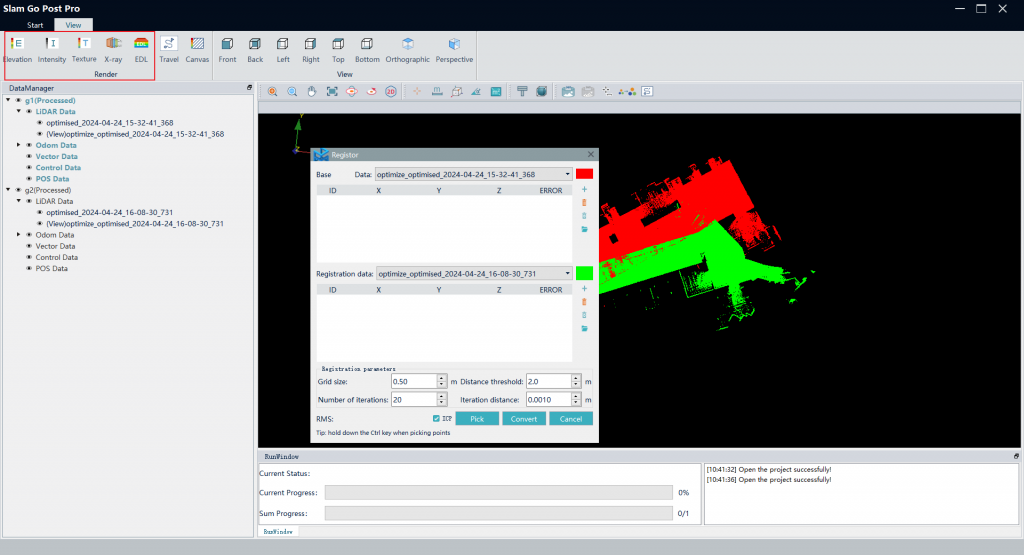
Keep the “registor window” open, we can also change the display settings of the point clouds according to our needs at any time
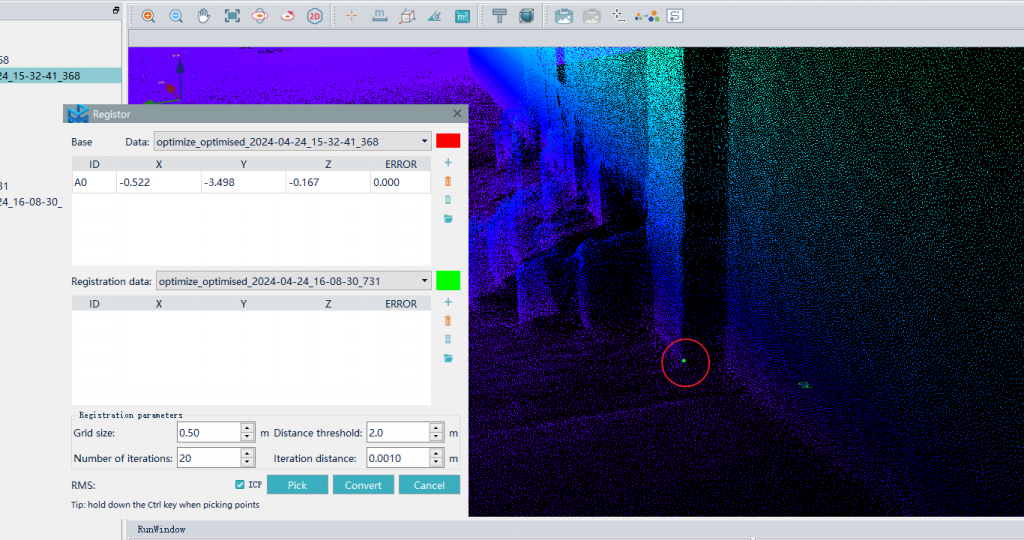
Now it’s time to select the merging points. Throughout the entire process, for greater convenience and accuracy, we can perform operations such as panning, zooming and rotating on the point clouds. When manipulating one point cloud, we suggest hiding the other one first, as it makes the operation easier. This can be done simply by toggling the eye icon in the point cloud datamanager window. Here we hide the green one.
Afterwards, we adjust the point cloud to an angle that is easier to observe, then click the ‘Pick’ button in the registor window. While holding down the Ctrl key, click the left mouse button to select the merging reference points.
After that, you will see a green dot(In the other dataset, this point is shown in red) labeled A0 in the point cloud, as shown below.
After completing the selection of all four reference points for the first dataset, we hide this dataset and unhide the other one. Then, we sequentially select the same four reference points for the second dataset. It is crucial to ensure that the selection order is consistent; otherwise, the point cloud registration may be incorrect.
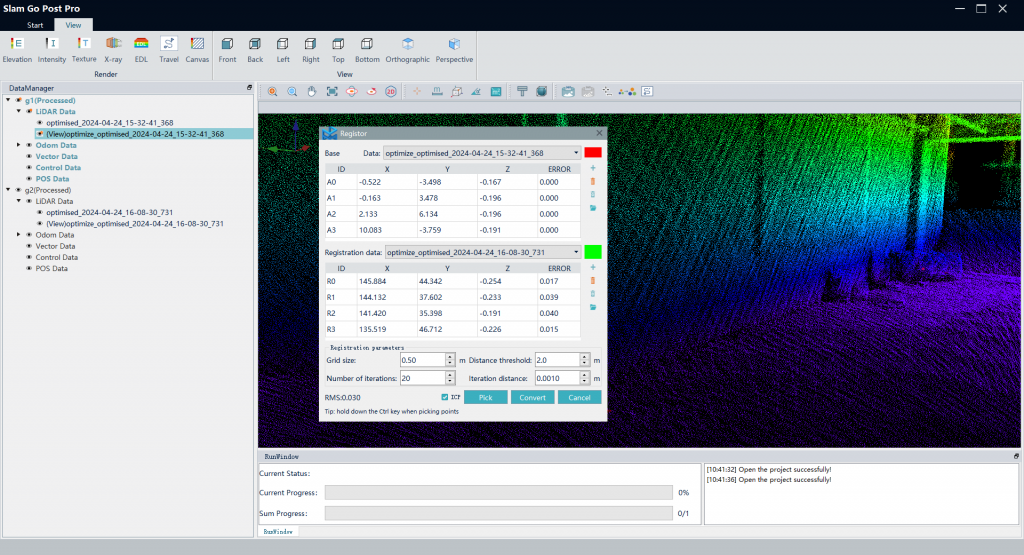
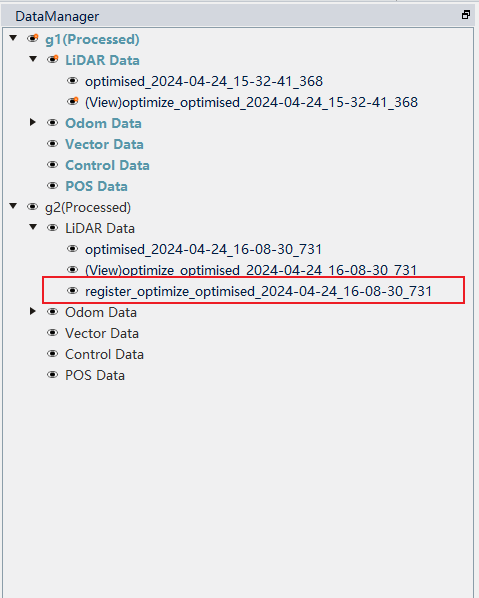
Once both datasets have their merging reference points selected, you can click the ‘Convert’ button to begin the point cloud registration.After the registration process is complete, a point cloud prefixed with ‘register’ will appear in the data manager window. This dataset is the one we will subsequently merge.
Point cloud Merging
Before proceeding with point cloud merging, please ensure that the point cloud registration meets production requirements.
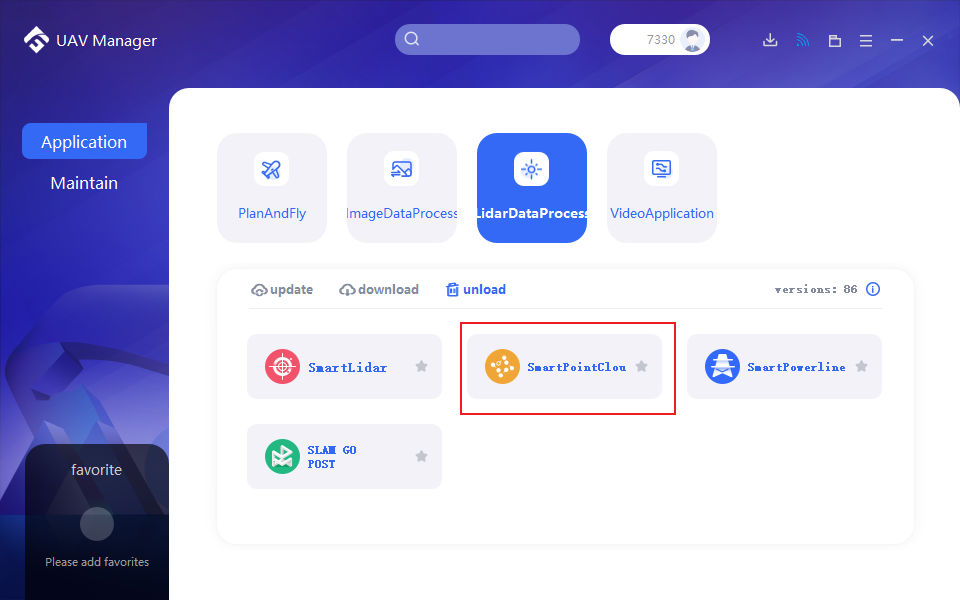
In this step we use “Smart point cloud” instead of “Slam go post” to merge our point cloud data
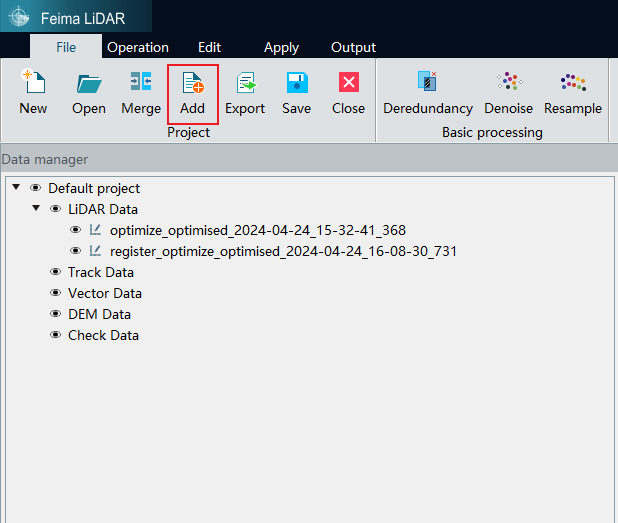
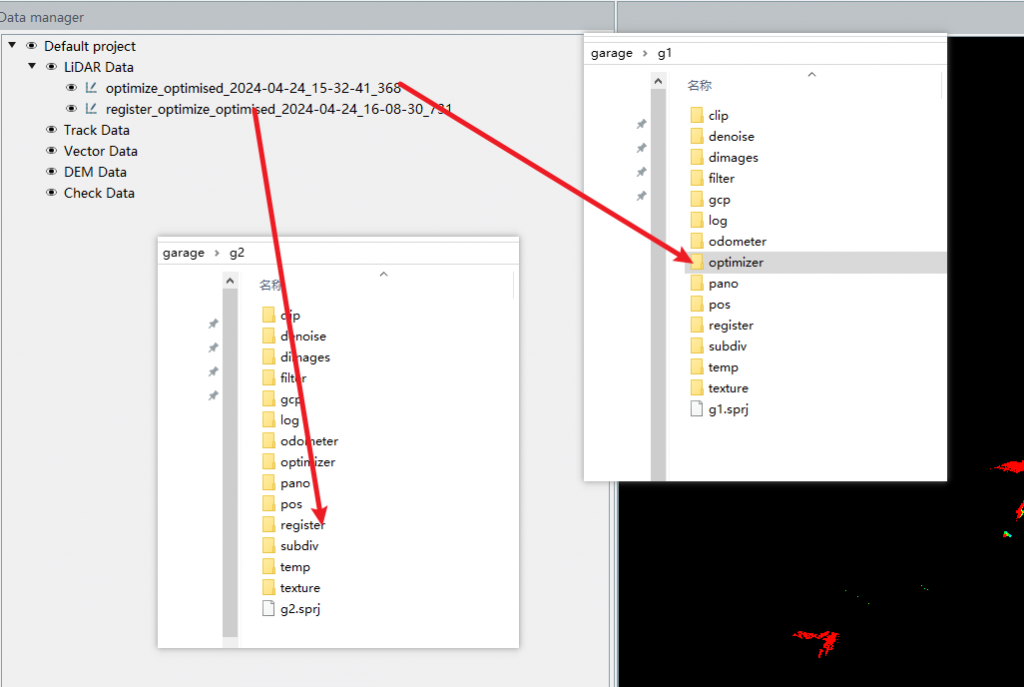
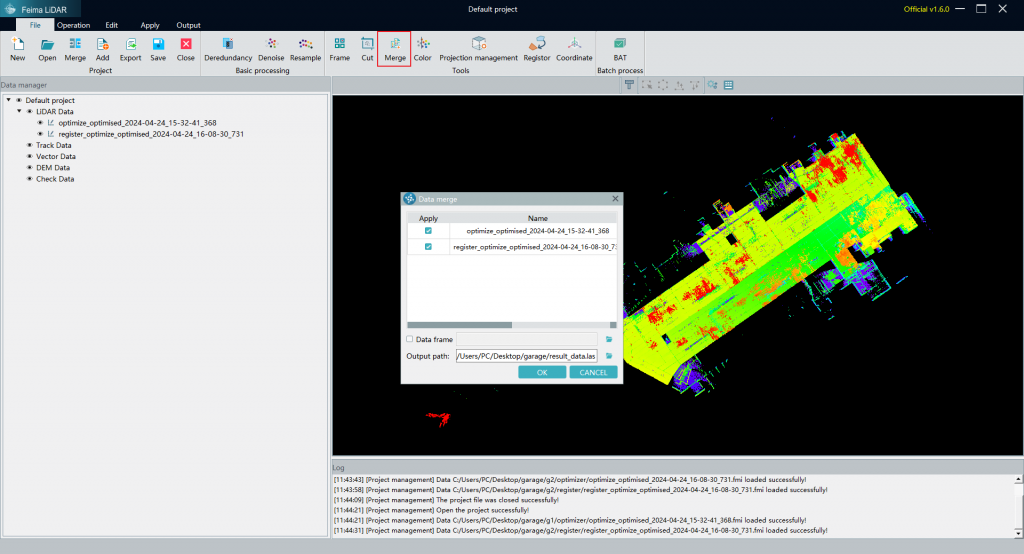
In this step, we click the ‘add’ button to add both datasets to the Data Manager window, the first dataset is located in the ‘optimize’ folder, while the second is in the ‘register’ folder.
Now click the ‘merge’ button, a second later there will be a popup window, after filling in the output path, clicking ‘OK’ will initiate the point cloud merging process.
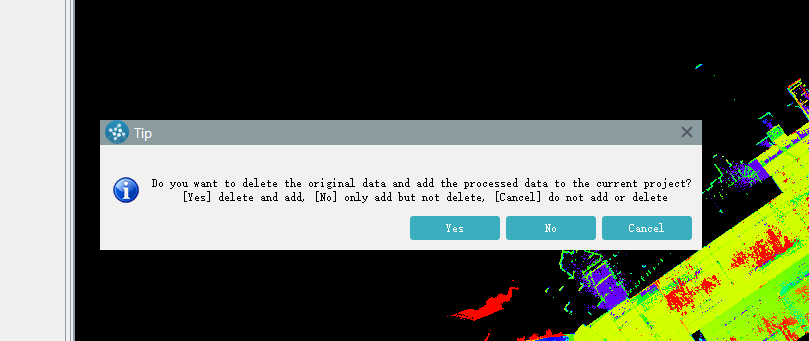
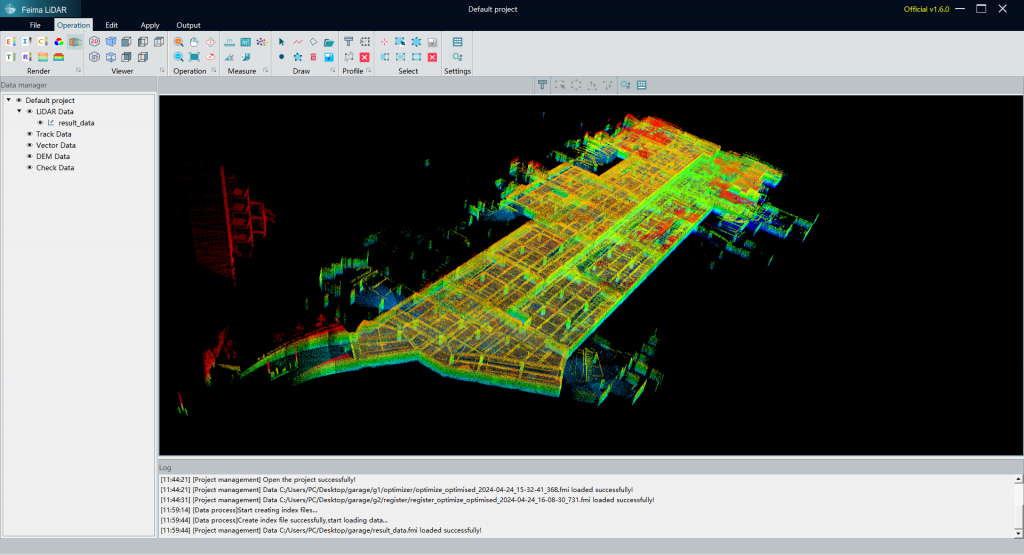
Finally, click ‘Yes’ to unload the original data and load only the merged point cloud in the Data Manager window.
Related video: https://drive.google.com/file/d/13R-Zd1zLrKf-8-ka-628MymTyT3l0-cy/view?usp=sharing